With spring and summer just around the corner, you may be thinking about paving upgrades you want to make to your home or business. You may have already looked at the different available options. You made a great choice if you decided to go with asphalt!
Asphalt is a sought-after material for everything from residential driveways to commercial projects. As paving professionals, we often get asked, “What is the asphalt installation process for driveways?” We broke down the process for asphalt paving to give you a step-by-step, inside look.
Step 1: Demolish and Remove
Regardless of the material, the first step in the asphalt installation process is to remove the existing surface.
- Heavy machinery is used to demolish and remove the current pavement. These machines include small bobcats, front loaders, dump trucks, and even forklifts when needed.
- Debris is removed.
- The old asphalt and concrete are often recycled to create new asphalt.
Step 2: Grade and Slope
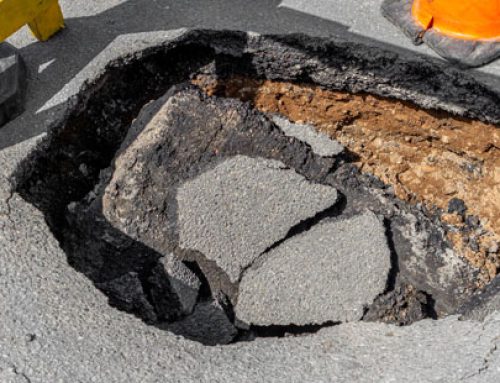
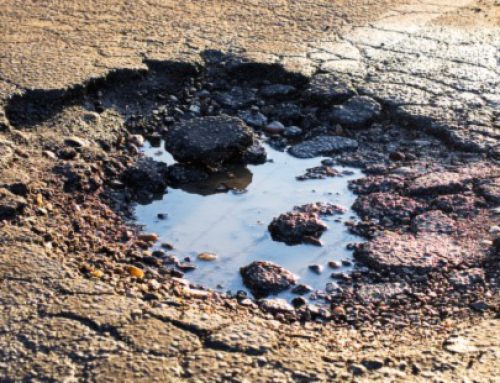
Our asphalt professionals now grade the surface to ensure that water will run off appropriately. Water is a major cause of damage, including potholes, cracks, and heaving, so proper water drainage is vital to your asphalt.
Step 3: Prepare the Sub-Base
It may surprise you to know that the most important part of your new asphalt surface is the sub-base.
- The sub-base provides a stable surface to support the new pavement.
- During the installation, base thickness, base stability, and compaction are crucial steps. The top of the asphalt surface won’t be as durable over the years if the sub-base is not adequately compacted.
- The sub-base is a frost barrier that helps reduce winter damage due to freezing and thawing.
Step 4: Binder and Surface Course
After the sub-base is laid and any soft spots are identified and repaired, it’s time to add the binder. The binder layer is made of large aggregate mixed with oil, and it is what makes the new asphalt surface strong and durable.
Step 5: Install New Asphalt Surface
The top layer of fresh asphalt is installed over the supportive structures to provide a smooth, clean ride. Surface asphalt is made up of sand, oil, and small aggregate. The combination of these materials provides a smooth ride and creates jet-black asphalt that is shiny and attractive.
Step 6: Butt Joints and Transitions
Since most new asphalt surfaces connect to existing driveways, roads, or parking lots, asphalt-paving contractors must find a way to smooth the transition from new surface to old.
- Butt joints are the areas where old asphalt or concrete meets new asphalt pavement.
- These transitional areas need special attention to ensure that the grading and water run-off are appropriate.
- Butt joints ensure pedestrians and drivers don’t notice a difference in the surfaces.
Final Roll to Complete the Project
Once the asphalt and butt joints have been installed, the entire surface is compacted and smoothed with a roller truck. This step ensures no small bumps of stone or aggregate are left to poke through the smooth new surface.
An experienced and qualified paving contractor should follow these installations to ensure your new asphalt surface provides years of durability for your home or business. At Premium Asphalt Paving & Sealcoating, we have substantial experience, the best tools and materials in the industry, and top-notch customer service.
We will be there for all your driveway paving needs, from the driveway installation to routine sealcoating and periodic maintenance. We want you to love the finished product for years to come. Contact us today for a free estimate on your next asphalt project!