Sealing your asphalt driveway is a cost-effective way to protect and prolong its life. Well-maintained asphalt surfaces can last up to 30 years, but they are susceptible to wear and tear from traffic and the weather. Regularly sealing your driveway helps it resist deterioration and last longer.
Keep reading to learn the step-by-step process to clean, prepare, and seal your asphalt driveway.
Driveway Sealing Preparation
Driveway sealing prep is tedious and can take a full day – including drying time. However, this step is crucial to correctly applying the asphalt sealer. The sealer application step itself is much faster and takes only a few hours per coat for most driveways. We suggest two coats with a minimum of eight hours of drying time between coats. So, plan for this project to take an entire weekend.
Helpful Tips Before Sealing:
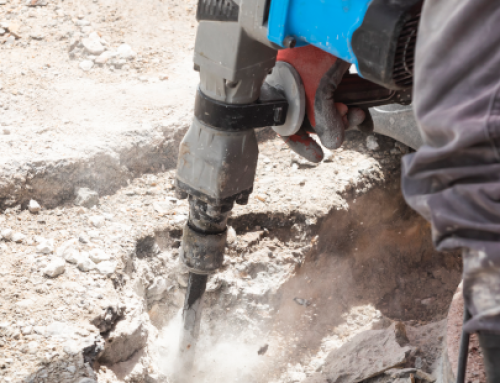
- Fill cracks before applying the sealer. The sealer will not fill the cracks properly.
- Before applying the sealer, clean and prep the driveway – the sealer will not stick to a dirty driveway.
- Stir until the sealer is thoroughly combined.
- Use the correct applicator. Using a different applicator than the manufacturer recommends will cause premature sealer failure.
- Don’t apply asphalt sealer too often. Too much sealer will flake off, so wait until you start to see asphalt aggregate before you apply a new coat.
Buy the Right Materials
Driveway sealer comes in various grades and price ranges – from as little as $15/5 gallon pail to $35/pail for a premium product. Keep in mind that some bargain products are 50% water and have lower coverage rates and a shorter guarantee – so, in the long run, they aren’t the most cost-effective solution. Premium products are made with higher quality resins and UV stabilizers, and they contain filler and elastomeric material that helps them last longer and carry a longer guarantee.
There are also different sealing formulas for different driveway conditions: a formula for older driveways that haven’t been well maintained and a formula for newer driveways in good condition. The two formulas vary in their coverage – so read the label carefully and choose the appropriate sealer and quantity for your specific driveway.
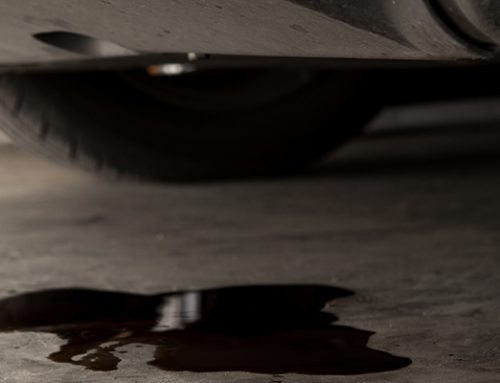
You’ll also need a liquid driveway cleaner/degreaser to remove tree sap and oil. If your driveway has visible oil stains, you’ll need a bottle of oil spot primer, too.
Other Driveway Sealer Materials:
- Squeegee or application brush – depending on which the manufacturer recommends
- Broom
- Drill
- Mixing paddle
- Duct tape
- Dashing brush
- Poly sheeting – to protect painted surfaces
- Power washer – speeds the cleaning process, but you can do the job without it.
Before You Start the Process – Check the Weather!
You’ll need at least two days of warm, dry weather to seal your asphalt driveway. Temperatures must be above 50 degrees Fahrenheit during the application process and throughout the dry time. It’s best to avoid hot sunny days because the sealer may dry too fast. You certainly don’t want to watch $100+ worth of sealer wash away in the rain because you didn’t check the weather forecast!
Step by Step Process of Sealing Your Asphalt Driveway
1. Clean and Prime
Apply the driveway cleaner using the soap nozzle on your power washer or a garden hose applicator. Then use a stiff-bristle push broom to scrub the entire driveway.
Don’t skip this step even if you think your driveway is clean! Exhaust gas contains combustion byproducts that deposit a light, sometimes oily, film on your driveway that you may not see. If that film, along with dirt and tree sap, are not entirely removed – the sealer will not stick.
2. Rinse with Strong Stream of Water
Use a 40-degree power washer nozzle or the strongest stream of water from your garden hose to flush the soap and dirt residue. Then rinse the driveway with clear water. Let the driveway completely dry.
3. Pretreat Oil Stains
Pour the oil spot primer on any oil spots and brush it into the pores with a disposable chip brush. Apply a second coat to heavier stains. Let the primer dry thoroughly.
4. Cover and Stir
Cover an area of the driveway with poly sheeting to protect against spills – dried spills will show through the sealer. Remove the pail lids and cut a small hole in the center of one lid. Use that lid to prevent splashing while you mix the contents. Start the mixing paddle close to the top of the pail and lower it slowly into the settled contents at the bottom. Move the mixing paddle up and down as it spins to thoroughly combine the water and solids into a smooth consistency. Stir until the mixture is smooth.
5. Cut in the Edges
Dip the dashing brush into the sealer and apply a liberal coat to all four edges of the driveway. You want to fill all the pores, so don’t spread it too thin. Next, use a large dashing brush to cut in all four edges of the driveway.
6. Stage the Pails
“Guesstimate” how much of the driveway each pail will cover. Place, or stage, the other pails along those areas of the driveway. This will save time and reduce the need to walk through the wet sealer to get the next pail.
Driveway sealer will splash onto your garage door and sidewalks when you pour it – so mask the garage door with poly sheeting and apply strips of duct tape to concrete walkways that butt up to the asphalt. Wear old work clothes and shoes because it’s almost impossible to remove the sealer from those later.
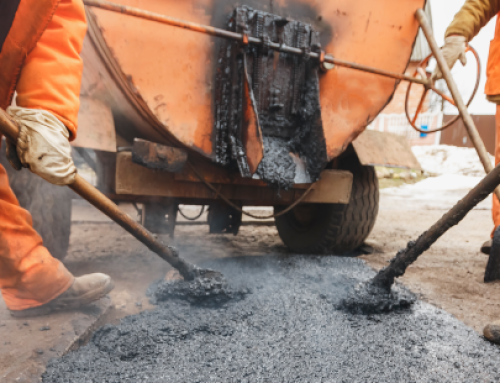
7. Pour Sealer onto Driveway
Start at the top right or left edge of the driveway and carefully pour the sealer onto the driveway in an upside-down U-shape pattern.
8. Spread the Sealer
Starting at one “leg” of the U, use even pressure to spread the puddle of sealer across the driveway and down the opposite leg. Pick up the excess sealer on the down leg and start the next row. Then, depending on the manufacturer’s directions spread the puddle with a broom or squeegee. Make sure to pour enough sealer to maintain a puddle in front of the applicator tool.
Once you reach the bottom of the driveway, cap the remaining pails and clean the broom or squeegee. Place the empty pails along the curb to prevent anyone from using the driveway and ruining your hard work. Let the sealer dry overnight.
Repeat the sealer application the following day. Allow the sealer to dry for 48 hours before using the driveway.
Let Premium Asphalt Paving & Sealcoating Do the Job for You!
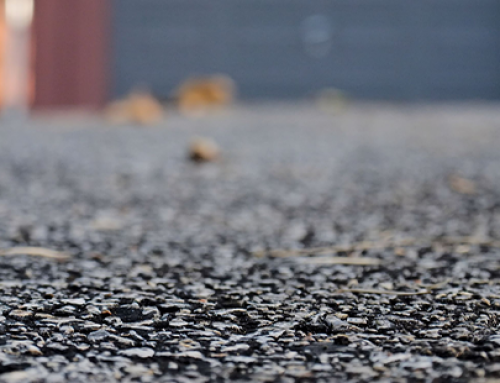
Driveway sealing is a vital part of asphalt driveway maintenance. A high-quality sealer can dramatically reduce heat and UV damage. It also seals the pores to prevent aggregate breakup damage and extend the life of your driveway.
But if this particular DIY project doesn’t appeal to you, consider using a professional asphalt company like Premium Asphalt Paving & Sealcoating. We’ll evaluate your driveway for other maintenance issues that need to be addressed before applying the sealant. Contact us today for a FREE estimate on any asphalt project you may have!