Asphalt is considered one of the best options for paved surfaces because of its durability and resilience. If you’re looking for a material that will last for years and remain strong and supportive, asphalt may be your answer.
Asphalt pavement is the preferred choice for roads, parking lots, driveways, and more. While it’s favored because of its durability, it doesn’t last forever. So, what’s the process for a new asphalt pavement to be installed? Let’s take a closer look at the 8 steps involved.
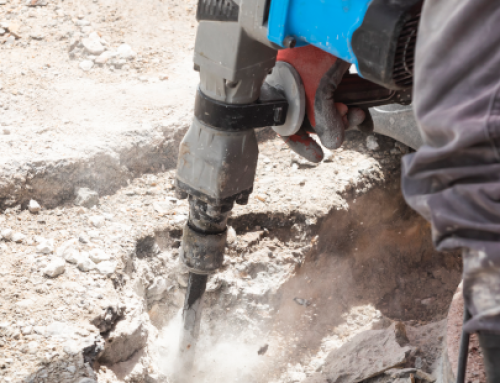
Step 1: Demolition and Removal
The first step in the asphalt pavement installation process is the demolition and removal of the existing asphalt or concrete surface. This step provides a clean canvas for the new asphalt. Heavy machines such as bobcats, front loaders, forklifts, and dump trucks are used to demolish and remove the old surface.
Step 2: Grading and Sloping
After the completion of step one, the pavers can begin the grading and sloping process. This process helps create a surface that provides proper water drainage during heavy rains. Since water is a major cause of damage to asphalt – including cracks, heaving, and potholes – it’s vital to execute the grading and sloping step with care and precision.
Step 3: Prepare the Sub-Base
Surprisingly, the sub-base is the most important element of your new asphalt surface. The sub-base provides a stable surface to support the new pavement. During installation, the base thickness, stability, and compaction are crucial steps. If these steps aren’t accurately followed, the asphalt surface won’t be as durable as it should in years to come.
The sub-base is also a frost barrier in the winter to reduce damage caused by freezing and thawing.
Step 4: Proof Roll, Undercutting, and Sub-Base Repair
After the sub-base is thoroughly graded and compacted, the next step is called a proof roll. A proof roll secures the underlying surface and guarantees that it’s strong enough to support the top layer of asphalt. If a soft spot is found, necessary steps will be made in the compromised areas to ensure the entire sub-base is strong and supportive.
Step 5: Binder and Surfacing
Once the sub-base is laid and any soft areas are repaired, it’s time for the binder and surfacing stage. The binding agent is usually made of aggregate mixed with oil – this makes the binder strong and durable.
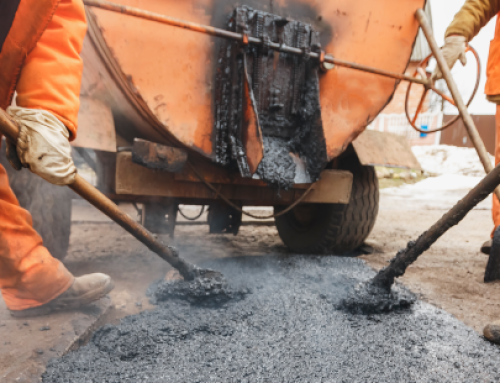
Step 6: Installing the New Asphalt
Now that the support structures are in place, it’s time to install the top layer of fresh asphalt. This layer is made up of small aggregate, sand, and oil. This combination creates jet-black asphalt that provides a shiny attractive surface and a smooth ride.
Step 7: Butt Joints and Transitions
New asphalt often connects with old asphalt – like existing roads, parking lots, or driveways. When this happens, butt joints are installed to ensure a smooth transition between the two surfaces. These transitional areas need to be graded and compacted for proper water run-off.
Step 8: Final Roll
After the asphalt and butt joints are laid, the entire surface is compacted and smoothed. This final step ensures that no small bumps of stone or aggregate are poking through the smooth new surface.
When these installation steps are followed carefully, your new asphalt pavement will be functional and durable for years to come. Shiny new asphalt is attractive, provides a smooth ride, and brings new life to your home, business, town, or city.
For more information or a free estimate on your next project, contact Premium Asphalt Paving & Sealcoating. You can count on us for durable, high-quality results!